
How to hide cables under your desk (7 methods)
Seven ways to hide the cables under and behind your desk, from a five-minute bundle to a bolted-on tray, with honest notes on cost, effort and what actually lasts.
Some links on this page are affiliate links. If you buy through them we may earn a small commission at no extra cost to you. As an Amazon Associate we earn from qualifying purchases. It never changes what we recommend.
The fastest way to hide the cables under your desk: bundle the loose runs with reusable hook-and-loop straps, get the power strip and any brick off the floor and mounted to the underside of the desk, and route the one unavoidable drop to the wall inside a single sleeve. That alone takes about twenty minutes and removes most of the visible mess for a few dollars. Everything below is a ladder — a five-minute tidy at the bottom, a bolted-on tray at the top — so you can stop at the rung that matches how much you actually care.
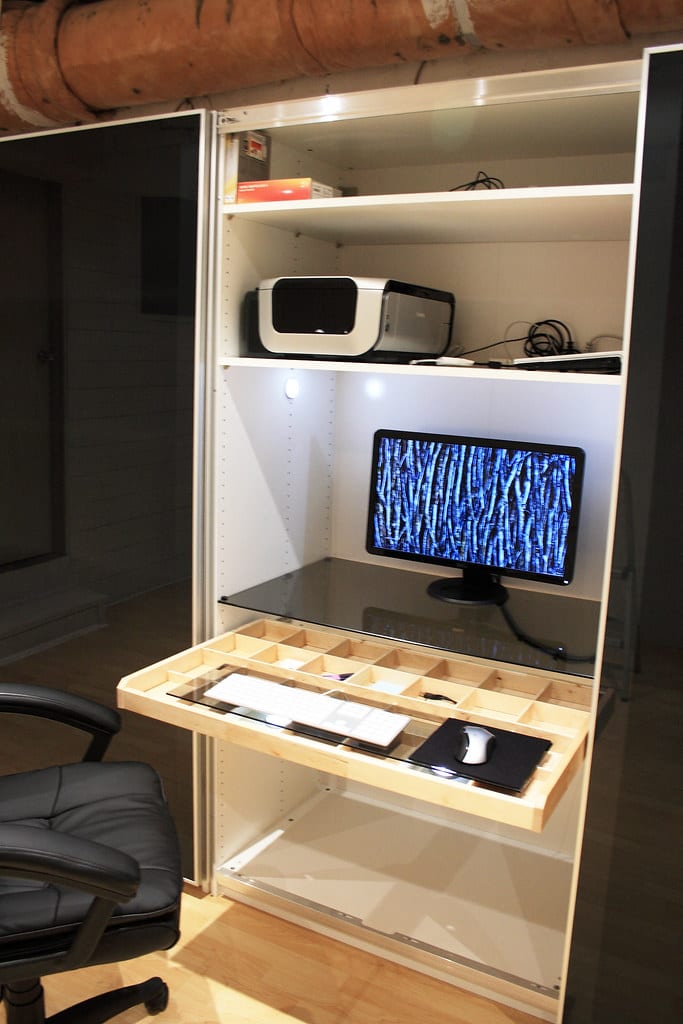
Some links below are affiliate links; see the disclosure at the end. You can see several of these methods in before-and-after in the cable management gallery.
1. Bundle first, with hook-and-loop (5 minutes, ~$8)
Before you buy a single mount, gather the cables into logical runs and wrap each run with a reusable hook-and-loop strap. The reason to avoid zip ties here is simple: you will change a device eventually, and cutting a zip tie off a bundle you spent an hour building is miserable. Velcro straps re-open in a second. A pack of 50 runs about $8 and outlasts the desk. This one step removes maybe half the visual chaos for almost nothing, and it makes every later step easier because you are now routing three tidy bundles instead of fifteen loose cables.
2. Adhesive clips along the desk edge (~$10)
With the runs bundled, lift them off the floor and hold them against the underside of the desk with adhesive-backed clips that follow the frame. The one thing people get wrong is skipping the prep: wipe the mounting surface with isopropyl alcohol and let it dry, or the adhesive lets go in a warm room within a month. On raw or oiled wood, adhesive is unreliable full stop — use small screw-in clips instead, which cost the same and never fall. A basic cable management kit usually bundles clips, straps and a sleeve together, which is cheaper than buying each separately.
3. An under-desk cable tray or basket (~$25–$45, the proper fix)
This is the upgrade that makes a desk look genuinely built-in. A wire or mesh tray bolts to the underside of the desk and holds the power strip, adapters and all the slack, so nothing hangs down at all. Two styles exist: a screw-mounted metal tray (rock solid, needs a drill and four screws) and a clamp-on tray (no drilling, fine for lighter loads). Expect $25–$45. If the back of your desk is ever visible — desk in the middle of a room, on a call with the camera on, or you photograph the setup — this is the single change that most alters how it reads from behind. It is also the one that lasts for years, because once cables live in a tray they stop migrating back to the floor.
4. A cable raceway on the wall (~$15–$30)
When the desk sits against a wall and cables have to climb to an outlet or run to a shelf, a paintable raceway is the clean answer. It is a rigid channel with an adhesive or screwed back and a snap-on cover; you lay the cables in and close the lid. Paint it the wall colour and it disappears. This is the fix for rented flats where you cannot chase cables into the plaster, and for anyone who wants the vertical run to a monitor mount or wall shelf to look intentional. Around $15–$30 for a few metres. Effort is moderate — measure, cut to length with a hacksaw or heavy scissors, and press it on.
5. Mount the power strip under the desk (~$0–$12)
Never leave the power strip on the floor collecting dust, drink spills and foot tension. Mounted under the desk, every cable travels up to it instead of pooling below. Many strips already have keyhole slots on the back for two screws; if yours does not, a pair of adhesive mounts or a strip of the same hook-and-loop from step one will hold it. This is close to free and it is the pivot the whole system turns on — with the strip up high, the tray in step 3 suddenly has something to hold, and the floor stays clear.
6. A cable sleeve for the drop to the wall (~$10)
There is usually one run you cannot hide: the bundle that leaves the desk and crosses to a wall outlet. A fabric or neoprene sleeve gathers that whole bundle into one tidy tube with a lengthwise zip or wrap. It will not make the run invisible, but a single matte tube reads as deliberate where five tangled cables read as mess. Ten dollars, five minutes, and it is the neatest way to handle the floor run you are stuck with.
7. Get the power brick off the floor (~$0)
Laptop chargers, monitor bricks and hub adapters are the ugliest offenders and the ones people forget. A brick sitting on the carpet drags its cable down and pools a loop of slack around it. Strap it to the underside of the desk or drop it into the tray with the strip, coil the excess lead and secure it with one more hook-and-loop tie. Costs nothing, and it removes the last thing that pulls the eye downward.
Before you screw anything in, unplug the strip and label every cable at the plug end with a bit of tape and a pen. The first time you need to pull one specific device without dismantling the whole bundle, two minutes of labelling saves you twenty of untangling.
How far should you go?
Match the effort to the desk. Against a wall, seen by no one? Steps 1, 5 and 7 — bundle, mount the strip, lift the brick — get you 90% of the result for under $20 and half an hour. In the middle of a room, or a desk you photograph? Add the tray (3) and the sleeve (6), and run any wall climb through a raceway (4). Whichever tier you pick, do it in one sitting and do it properly. Half-done cable management unravels within a week, because a single loose cable invites the next one back to the floor.
If you want this as one continuous build rather than a menu, follow the start-to-finish cable management walkthrough, which runs the whole project in order. Cables are usually the last step in building a desk setup, and they are what separates a finished desk from a temporary one — the same principle behind a clean minimalist setup, where nothing on or under the desk is there by accident. For more on the category, browse cable management.
About this article
- Published by Ravi Menon — Ravi Menon builds, breaks down and rebuilds home-office desks and writes about the results for The Desk Nook.
- Claims fact-checked against cited sources: Yes
Keep reading
 Gallery5 photos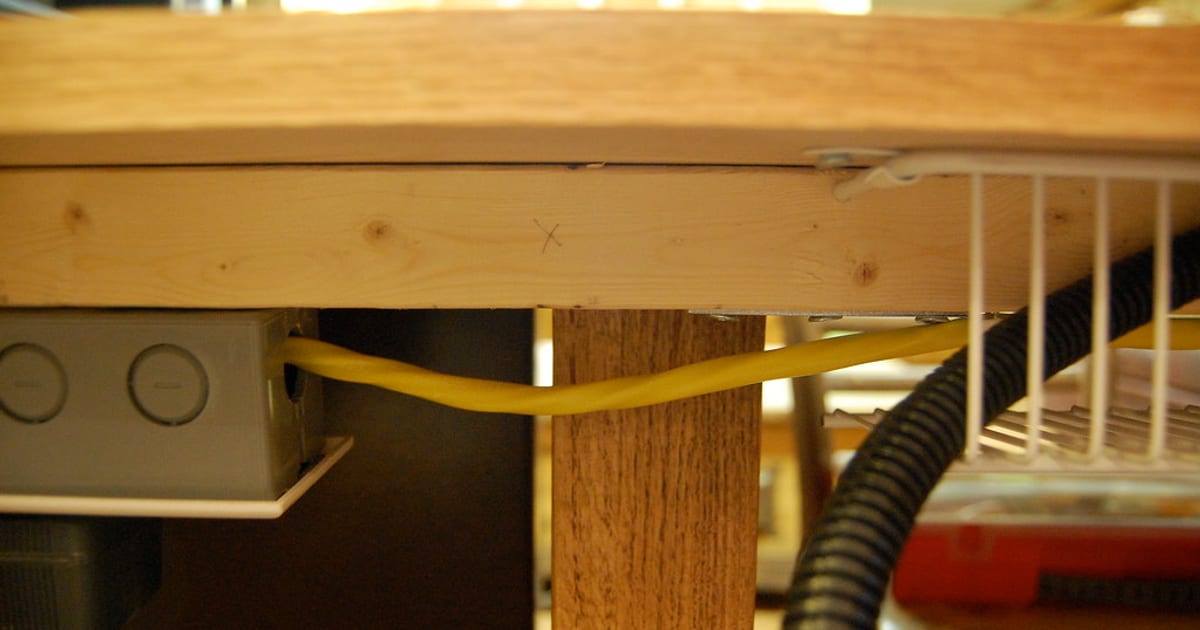
Desk cable management: a start-to-finish walkthrough
Good cable management is not a product you buy, it is a sequence you follow once: clear the desk, work out what you actually have, label it, give it a home…

The complete guide to building a desk setup (2026)
If you want the short version: build from the desk up , spend money where your hands and eyes touch the setup, and route the cables last but never skip them. A…