
Desk cable management: a start-to-finish walkthrough
A single sequential cable-management build, start to finish — clear the desk, inventory and label, mount a tray, split power from data, leave slack, dress the runs and test.
Some links on this page are affiliate links. If you buy through them we may earn a small commission at no extra cost to you. As an Amazon Associate we earn from qualifying purchases. It never changes what we recommend.
Good cable management is not a product you buy, it is a sequence you follow once: clear the desk, work out what you actually have, label it, give it a home under the desk, keep power and data apart, leave a little slack, tidy the runs and test before you close everything up. Done in order it takes an unhurried afternoon — call it 90 minutes to two hours the first time — and it holds for years because every cable ends up with a reason to be where it is. This is that afternoon, start to finish, on a normal desk with a monitor or two, a machine, a keyboard, a mouse and the usual pile of chargers.
One of the links below is an affiliate link; see the disclosure at the end. If you would rather scan a menu of individual tactics first, the seven ways to hide cables under a desk covers each one in isolation. This piece runs them as one build.
What to have on hand
Before you start, gather: a pack of reusable hook-and-loop straps, a handful of adhesive or screw-in cable clips, an under-desk tray (mesh or wire), a power strip you are happy to mount, a cable sleeve for the floor run, a roll of masking tape and a marker for labels, isopropyl alcohol and a cloth, and a screwdriver or small drill. A single cable management kit covers the straps, clips and sleeve in one box; the tray and strip are usually separate. Total spend for a full kit lands around $40–$70 depending on the tray.
Step 1 — Clear the desk completely
Unplug everything at the wall and take every cable off the desk and out from behind it. Yes, everything. You cannot route a run you cannot see, and half the mess behind a desk is cables that no longer connect to anything — the old dock, the speaker you replaced, the phone charger for a phone you no longer own. Pull them all. This is also the moment to wipe down the desk surface and the floor behind it, because you will not have this access again for a long time.
Step 2 — Inventory what you actually have
Lay the cables out and sort them into two piles: things you use, and things you have been storing behind the desk out of inertia. Box up the second pile. For the first pile, note two things about each cable — where it starts and where it ends, and whether it carries power or data. That distinction drives the whole rest of the build, so it is worth being deliberate about it now rather than discovering a mystery cable at step six.
Step 3 — Measure, then label
Hold each cable roughly along the path it will take and check it is long enough to reach with a bit of margin. A cable pulled taut will drag its device or pop out of a tray, so anything that only just reaches gets swapped for a longer one now, not after you have dressed the run. Then label every cable at the plug end: a folded tab of masking tape with "monitor L", "dock", "kbd" written on it. This is the least glamorous step and the one you will thank yourself for most. Six months from now, "which of these fourteen black cables is the left monitor" has a two-second answer instead of a ten-minute one.
Step 4 — Mount the tray and the strip
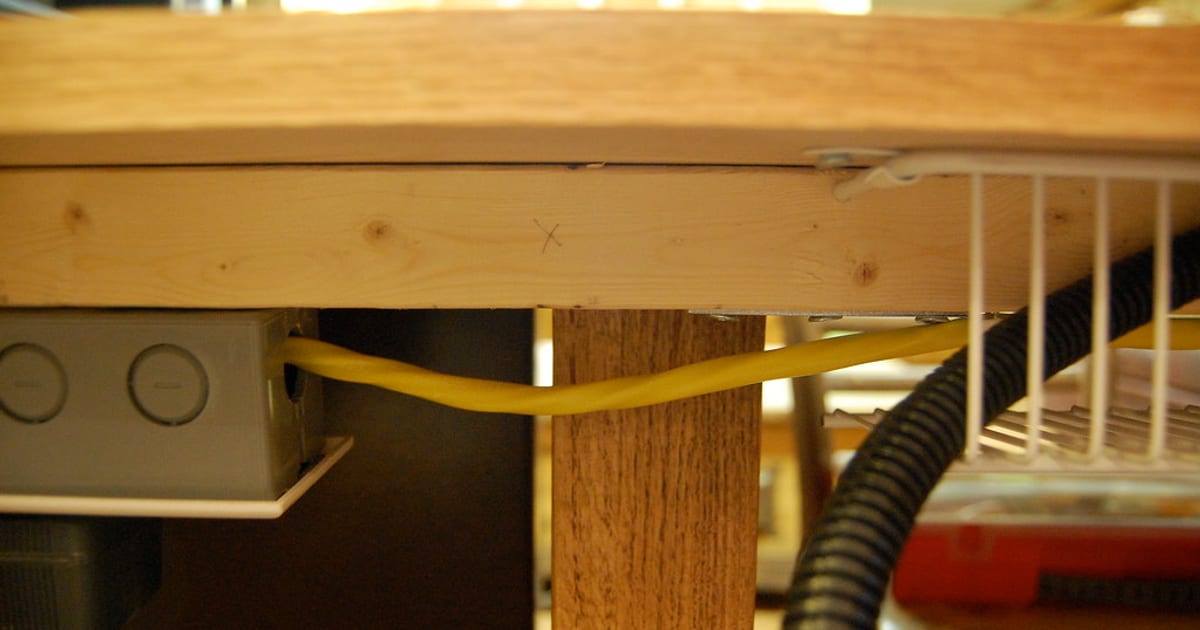
Now give the cables a home. Fix the tray to the underside of the desk — a screw-mounted metal tray takes four screws and a drill and never moves; a clamp-on tray needs no drilling and is fine for a lighter load. Mount the power strip inside or beside the tray, using its keyhole slots, adhesive mounts, or a hook-and-loop strap. If you are using adhesive anywhere, wipe the surface with alcohol first and let it dry, or it will let go in a warm room. The goal of this step is that everything heavy — strip, bricks, slack — lives up under the desk, and the floor stays empty.
Step 5 — Route power and data separately
Here is the one rule worth respecting: run power cables and data cables along separate paths where you can, not bundled tightly together over long parallel stretches. On a home desk the practical version is simple — keep the power strip and its leads on one side of the tray, and your USB, video and network cables on the other, crossing at right angles rather than running twisted together. It keeps the bundles cleaner to trace later, and it is the tidy habit that people who do this professionally keep. Feed each cable to its device, following the desk frame, holding it with a clip every foot or so.
Step 6 — Leave slack, deliberately
Do not pull anything tight. At the device end, leave a small service loop — enough that you can pull a monitor forward a few inches, or slide the machine out, without unplugging it or straining the port. Gather the excess at the tray end and tame it with a hook-and-loop strap into a neat coil. Slack looks like the enemy of a clean setup, but a run with no slack is the one that fails: it tugs on ports, pops out of trays, and forces a full teardown the day you move anything. A tidy coil in the tray is the sign of a build that will survive real use.
Step 7 — Dress the runs
Now make it look intentional. Bundle the finished runs with straps at even intervals, so parallel cables read as one clean line rather than a spray. Drop the single run that leaves the desk for the wall into a sleeve. If cables have to climb a wall to an outlet or a monitor mount, lay them in a paintable raceway. This is the cosmetic pass, and it is quick because the hard routing is already done — you are just closing the bundles and hiding the one drop you could not avoid.
Step 8 — Test before you call it done
Plug everything back in at the wall and power up. Confirm every device wakes: both monitors, the machine, peripherals, anything on the dock. Then do the move test — gently slide the desk out a few inches if it is on the floor, or pull the machine forward, and watch that nothing goes taut, unplugs or drags the tray. Fix any run that fails now, while the straps are still easy to re-open. When everything survives a tug and every device lights up, you are done.
When to redo it
You will not touch this for a year or more, which is the point. Revisit only when you add a device big enough to change the bundles — a second monitor, a new dock. When that day comes, the labels from step 3 make it a ten-minute edit instead of a fresh teardown. If your new addition is a monitor, sort the arm and ergonomics at the same time, since the arm's own cable channel folds neatly into the tray you just built. Cabling is the last stage of building a desk setup; see it finished across a few real builds in the cable management gallery, or browse more in cable management.
About this article
- Published by Ravi Menon — Ravi Menon builds, breaks down and rebuilds home-office desks and writes about the results for The Desk Nook.
- Claims fact-checked against cited sources: Yes
Keep reading
How to hide cables under your desk (7 methods)
The fastest way to hide the cables under your desk: bundle the loose runs with reusable hook and loop straps, get the power strip and any brick off the floor…
 Gallery5 photos
The complete guide to building a desk setup (2026)
If you want the short version: build from the desk up , spend money where your hands and eyes touch the setup, and route the cables last but never skip them. A…