
Monitor arms & desk ergonomics — set up so a workday doesn't wreck you
The real ergonomic numbers for monitor height, distance and angle, and why a monitor arm fixes height and frees desk space at the same time.
Some links on this page are affiliate links. If you buy through them we may earn a small commission at no extra cost to you. As an Amazon Associate we earn from qualifying purchases. It never changes what we recommend.
Set the top of your monitor at or just below eye level, put it about an arm's length away (roughly 20 to 30 inches), and tilt it so you look slightly down at the center of the screen — about 10 to 20 degrees below horizontal. Keep your elbows near 90 degrees at the keyboard. Hit those numbers and most screen-related neck, shoulder and eye strain fades. The fastest way to hit them, and to get your desk surface back, is a monitor arm. Here is what the numbers mean and how to buy the right arm.
Some links below are affiliate links; see the disclosure at the end.
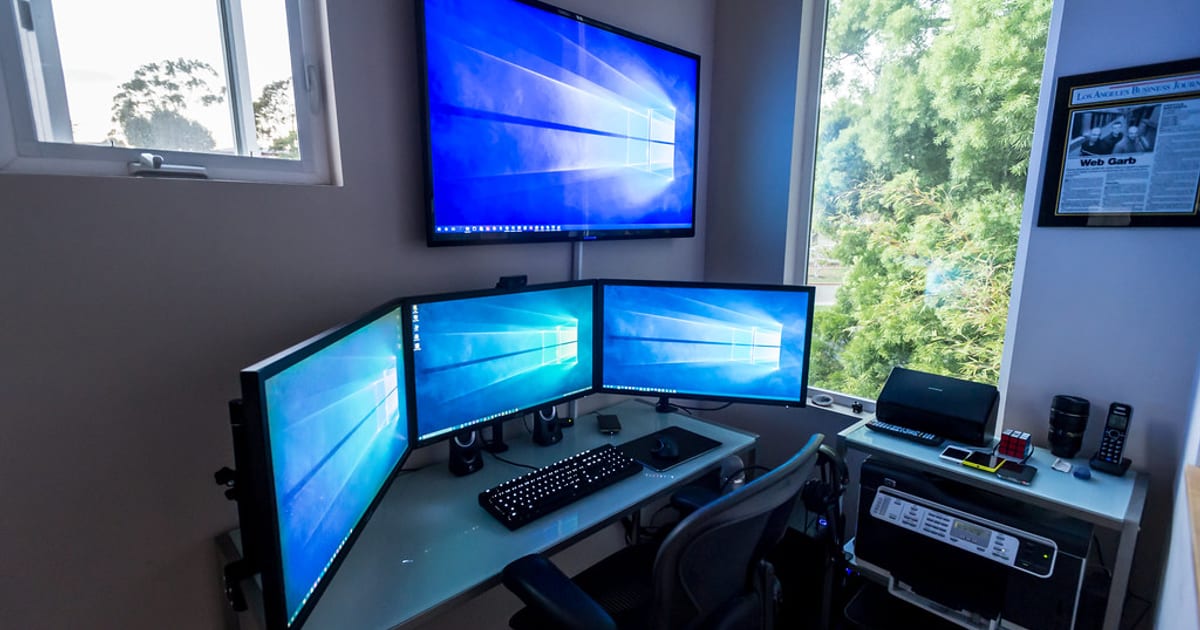
You can see plenty of arm-mounted builds in the monitor setup galleries if you want a picture of the end result.
The numbers that actually matter
These come from Cornell's ergonomics guidance, and they are worth setting once and forgetting.
- Height. The top of the screen should sit at or slightly below your eye level when you are sitting up straight. Not the center — the top. Your natural resting gaze drifts a little downward, so a screen set this way lets you look slightly down at the content, which is the comfortable direction for your eyes and neck.
- Distance. Roughly an arm's length: about 20 to 30 inches from your eyes to the screen. Close enough to read without leaning in, far enough that your eyes are not constantly refocusing. Bigger, sharper screens can sit a touch further back.
- Gaze angle. Aim to look down at the center of the screen by about 10 to 20 degrees. Tilt the panel back slightly so the whole surface faces your eyes rather than the ceiling.
- Elbows and wrists. Sitting, your elbows should rest near 90 degrees with forearms roughly level and wrists straight. This is a keyboard-and-chair job, but it sets the eye height everything else is measured from, so fix your seat first.
Set your chair and keyboard so your elbows land near 90 degrees, then raise the monitor to meet your eyes. Do it in that order. People who set the monitor first almost always end up hunching to reach the keyboard.
The single most common desk mistake is a monitor that sits too low, especially a laptop on a bare desk. Looking down at a low screen all day is what quietly wrecks necks. If you fix one thing today, raise the screen.
Why a monitor arm, and not just a stack of books
You can hit the height target by propping a monitor on a riser or a stack of books, and for a fixed setup that honestly works. A monitor arm earns its money for two reasons at once.
It fixes height and angle precisely. Stock stands often do not go high enough, and they rarely tilt or swing the way you want. An arm lets you dial the panel to the exact height, tilt and distance the numbers above call for, and nudge it whenever you change chairs or switch between sitting and standing. If you use a sit-stand desk, an arm keeps the screen at eye level in both positions instead of just one — we get into that in our standing desk setup ideas.
It frees the desk. The stock base of a monitor eats a surprising amount of surface. Clamp an arm to the back edge and that whole footprint comes back — room for a keyboard, a notebook, a coffee, or simply less clutter in front of you. On a small or shallow desk this is often the real reason to switch.
Clamp mount vs grommet mount
Almost every arm mounts one of two ways, and picking the right one is just about your desk.
- Clamp (C-clamp). The jaws grip the back edge of the desk. No holes, moves easily, works on most desks. Check that your desk edge is within the clamp's thickness range and that the top is solid where it grips — a thin or hollow surface can flex.
- Grommet. A bolt drops through an existing cable hole (or one you drill) and tightens from underneath. More permanent and very solid, good for thick or awkward edges, and tidy if your desk already has a grommet hole.
Most people want the clamp. Reach for the grommet mount only if your desk edge is too thick, too thin, or too fragile to clamp safely.
Weight and VESA — the two specs to check before buying
An arm you buy without checking these two numbers is a coin flip.
- VESA pattern. This is the spacing of the four mounting holes on the back of your monitor, almost always 75x75 mm or 100x100 mm. The arm must match, or accept a plate that does. Some very thin or curved monitors have no VESA holes at all and need an adapter — confirm before you buy.
- Weight range. Every gas-spring arm has a stated range, something like 4.4 to 19.8 lb (2 to 9 kg). Your monitor must fall inside it. Too heavy and the arm droops; too light and it drifts upward and will not stay down. Weigh the panel without its stock stand and match it to the range.
Based on published specs and long-term owner reports, a single gas-spring monitor arm with the right VESA plate and a weight range that brackets your screen is the reliable default — smooth to reposition and happy to hold a set height for years. Check those two numbers against your specific monitor before ordering.
Single arm or dual arm
If you run one screen, a single arm is simpler, cheaper and steadier. If you run two, you have a choice: two independent single arms, or one dual arm. Independent arms give each screen full, separate movement, which is what you want if you reposition often or run screens at different heights. A dual arm keeps a matched pair aligned on one post and takes up one mounting point. For getting two screens level and at eye height, either works — the ergonomics of matching and placing a pair are in our dual-monitor desk setup ideas.
Putting it together
Fix your chair and keyboard so your elbows sit near 90 degrees — if the chair is the weak link, how to choose an office chair for long days covers the adjustments that matter. Raise the monitor until its top is at or just below eye level, park it about an arm's length back, and tilt it so you look slightly down at the center. A monitor arm is the tool that lets you hit all of that and hands your desk surface back at the same time — just match its VESA pattern and weight range to your screen, and pick clamp or grommet to suit your desk. Get this right and a long day at the desk stops leaving a mark on your neck. When the screen is dialed in, run the ergonomic desk setup checklist, finish the rest with the complete desk setup guide, and browse more under ergonomics.
Disclosure: some links above are affiliate links. If you buy through them we may earn a small commission at no extra cost to you. Recommendations are based on published specs and long-term owner reports, not paid placement.
About this article
- Published by Ravi Menon — builds, breaks down and rebuilds home-office desks and writes about the results for The Desk Nook.
- Claims fact-checked against cited sources: Yes
Keep reading
The ergonomic desk setup checklist (2026)
Here's the whole checklist up front — set your desk in this order and you're done in two minutes. Feet flat on the floor or a footrest. Knees and elbows near…
Standing desk setup ideas for a healthier workday
A standing desk will not fix your back on its own. What genuinely helps is alternating — sitting for a while, standing for a while, and changing posture…
Fixing wrist and hand strain at your desk (2026)
Wrist and hand ache at a desk almost always traces to three things, and all three are cheap to fix. First, your keyboard is probably tilted up at the back…