
The complete guide to building a desk setup (2026)
An answer-first, no-hype guide to building a desk setup that works before it looks good — desk width, monitor distance, keyboard choice, warm light and cables, in the right order.
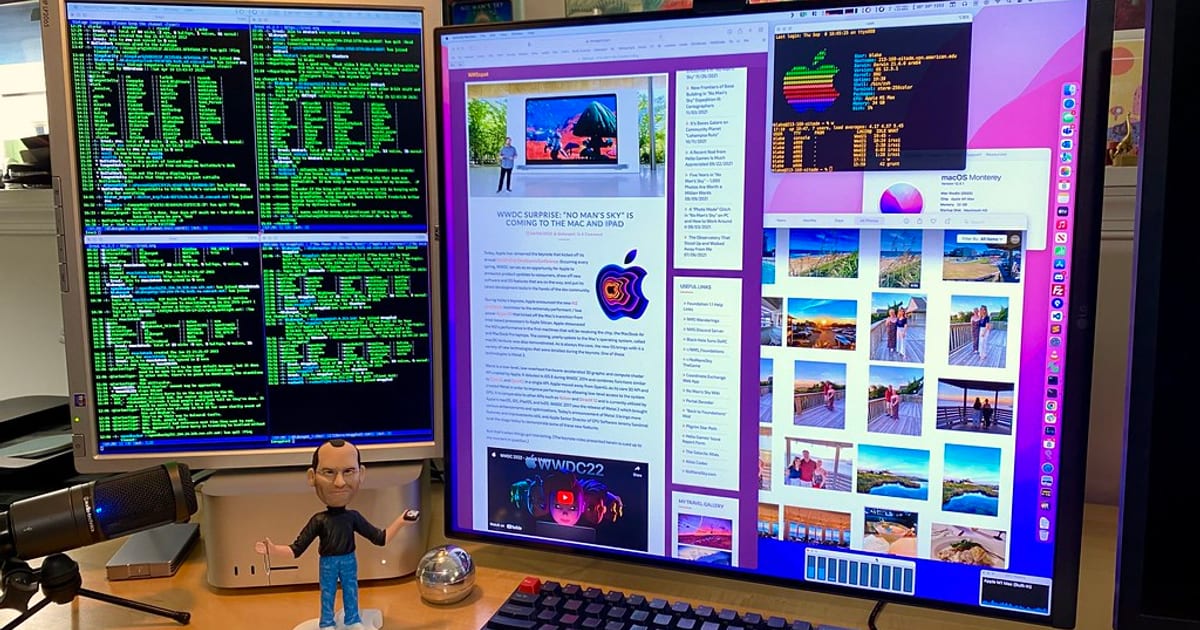
If you want the short version: build from the desk up, spend money where your hands and eyes touch the setup, and route the cables last but never skip them. A good desk setup is not about owning expensive gear. It is a handful of decisions, made in the right order, that add up to a workspace you actually want to sit at.
Here is the starter checklist. Do these five things and you have 90% of a great desk before you buy a single accessory:
- Get the desk height right. Sitting, your elbows should land at roughly a 90–100° angle with forearms level to the floor. If the desk is fixed-height and too tall, raise the chair and add a footrest.
- Put the monitor about an arm's length away, top edge at or just below eye level. For most people that is 20–30 inches from your face. This one change removes most neck and eye strain.
- Pick one keyboard and one pointing device you genuinely like touching. You use them every minute of the day. This is where money is well spent.
- Add one warm light at around 2700–3000K that is not your ceiling fixture.
- Route the cables once, properly. It is the difference between a setup and a pile of gear.
This is the hub guide. Each section below expands one of those moves, links to a deeper walkthrough, and points to the desk setup galleries so you can see the idea before you buy anything. You can browse everything in the desk-setups topic too.
1. The desk and how you sit at it
The desk is the foundation, so start there. Width matters more than depth. Aim for at least 47 inches (120cm) of width if you can, and 55–63 inches (140–160cm) is the comfortable range for a monitor, keyboard, mouse, notebook and a drink without playing Tetris. Depth of 24–30 inches (60–75cm) is plenty; anything deeper just pushes the monitor too far or wastes reach.
Seated desk height for an average adult lands around 28–30 inches (71–76cm). The number that actually matters is your elbow angle, not the tape measure. Cornell's ergonomics guidance is blunt about this: get the elbows near 90° and the wrists neutral, and let everything else follow. If the surface is a few inches too high, the fix is a taller chair plus a footrest, not hunched shoulders.
The chair is part of the desk decision, not a separate one. Set it so your feet rest flat (on the floor or a footrest), your thighs are roughly parallel to the ground, and there is a small gap behind your knees. Only then check the desk height against your elbows. Getting the chair right first is what stops people from buying a fancy desk and still sitting badly at it. If your chair can't be adjusted to hit those marks, that is the first thing to upgrade — how to choose an office chair for long days covers which adjustments actually matter, and the ergonomic desk setup checklist is the two-minute run-through for the whole posture.
If you spend long days here, a sit-stand desk is worth considering, but only a stable one. A wobbly standing desk gets parked in the sitting position forever and never comes back up. Read the standing desk setup guide before you commit, and see how people arrange them in the desk setup galleries.
2. The keyboard: where a setup starts to feel personal
You touch the keyboard more than anything else on the desk, so it is the single upgrade you will feel every day. A good mechanical keyboard is not about noise or lights. It is about a typing feel that suits you and switches you can live with for eight hours.
Two decisions do most of the work. First, layout. A full-size board gives you a numpad but eats width. A tenkeyless (TKL) drops the numpad and buys you room to center the keyboard on the monitor and bring the mouse closer, which is better for your shoulder. A 65% or 60% saves even more space. If you crunch numbers all day, keep the numpad; if you write code or prose, TKL or 65% is usually the sweet spot.
Second, switches. Linear switches (Cherry MX Red, Gateron Red) are smooth and quiet-ish; tactile switches (Cherry MX Brown, Kailh Box Brown) give a small bump so you feel the keypress. There is no "best" here, only what your fingers prefer. If that is a foreign language, keyboard switches explained breaks down the types without the jargon, and the best mechanical keyboards for programming covers the boards worth your money. See layouts side by side in the mechanical keyboard gallery.
3. The monitor (or monitors)
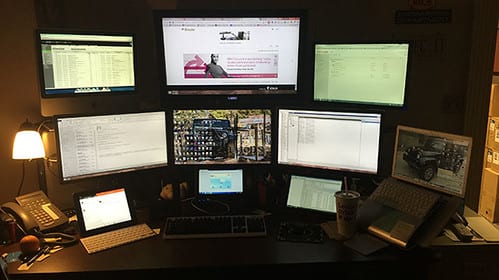
Get the position right before you worry about the panel. Top of the screen at or just below eye level, about an arm's length away (20–30 inches), tilted up maybe 10–20 degrees so you look slightly down at the center. A single good monitor beats two mediocre ones crammed together, but a second screen genuinely helps if you reference and write at the same time.
If you go dual, do not just shove two panels edge to edge and call it done. Angle them into a shallow V so both are roughly equidistant from your eyes, and decide which one is primary so it sits dead center. The full arrangement playbook is in dual monitor desk setup ideas.
A monitor arm is the cheapest single move that improves both posture and desk space. It frees the surface under the screen, lets you dial in the exact height instead of stacking books, and pushes the panel back to hit that arm's-length distance. It is genuinely the best few dollars in the whole build. Monitor arms and desk ergonomics covers what to look for, and the desk setup galleries show arm-mounted arrangements that work.
Buying the panel itself is a separate question — size, resolution and panel type decide how sharp your text is and how much your eyes work. If you are choosing a screen, how to choose a monitor for working from home walks through the specs that matter and the ones you can skip. Working on a laptop instead? Raise it and add an external keyboard — see laptop stands and docking stations for a home office.
4. Lighting
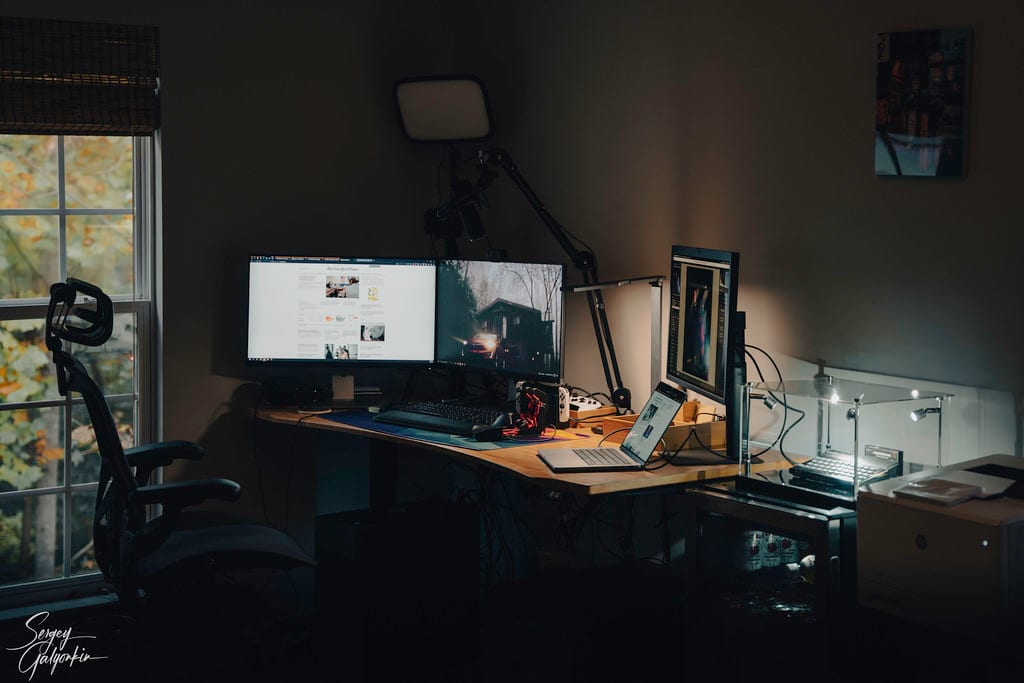
Overhead lighting is efficient and, at a desk, both unflattering and tiring. Add a warm desk lamp or a bias light strip behind the monitor so your eyes are not staring at a bright screen floating in a dark room. Aim for warm-to-neutral white around 2700–3000K for evening work; you can go a little cooler in daytime if you like. The full two-light recipe — bias light behind the screen, aimable lamp beside you — is in desk lamps and bias lighting for eye comfort.
There is a readability angle too. If the room is dark and the screen is at full brightness, the contrast between them fatigues your eyes fast. WCAG's contrast guidance exists for text on screens, but the same principle helps your setup: lift the ambient light so the screen is not the only bright thing in your field of view, and everything gets easier to look at for hours.
5. Cable management (do not skip this)
This is the step people skip and then regret. Cables under tension, drooping to the floor, or tangled behind the desk make the whole thing feel temporary no matter how nice the gear is. Bundle each run, get the bundle off the floor with an under-desk tray or a few adhesive clips, and leave a small loop of slack at each device so you can move the monitor or unplug a drive without restringing everything.
The one rule worth burning in:
Leave 2–4 inches of slack at every device, and never let a cable hang under its own weight. A cable pulled tight is a cable that will yank something off the desk eventually.
The full method, including power-strip placement and the under-desk tray, is in how to hide cables under your desk. The cable management gallery shows the before-and-after.
6. The accessories that actually matter
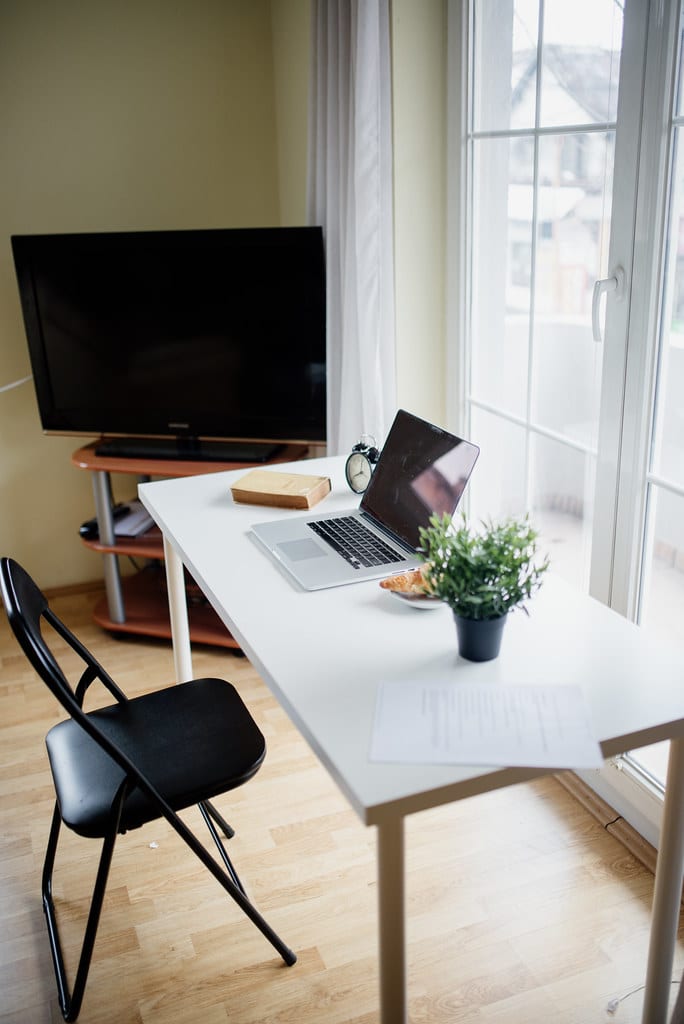
Skip most of them. Three earn their place. A large desk mat protects the surface, defines the space and quiets the keyboard — best large desk mats and why they matter covers the size and material to get. A monitor arm (see above) does double duty for posture and clutter. And a small tray or drawer gets everyday clutter off the surface so the desk stays a workspace, not a shelf. If your hands ache by evening, that is a fourth thing worth fixing — the causes and cheap fixes are in fixing wrist and hand strain at your desk. Everything else is taste, and taste is fine, just buy it on purpose rather than by accident. Building this whole setup on a budget? A complete budget desk setup under $300 shows where to spend and where to save.
Who is this build for, and when should you skip a step? If you sit at the desk for a couple of hours a week, do not overthink the standing frame or the second monitor. If it is where you work all day, the ergonomics steps — chair, monitor height, keyboard feel — pay for themselves in how you feel by evening, and the gear steps can wait. Spend on the parts you touch and see for hours; go cheap on the rest without guilt.
7. Build order, and where to go next
Build in order: desk, then sitting position, then keyboard, then monitor, then light, then cables. Do it this way and you end up with a setup that works before it ever has to look good. The nice part is that once it works, the look mostly takes care of itself, because clean posture and hidden cables are most of what makes a desk photograph well.
If you want the calm, pared-back version of all this, the same principles show up in minimalist desk setup ideas: fewer things, each one chosen. Wherever you land, start with the desk setup galleries for inspiration, then come back to the guides above for the specifics.
About this article
- Published by Ravi Menon — Ravi Menon builds, breaks down and rebuilds home-office desks and writes about the results for The Desk Nook.
- Claims fact-checked against cited sources: Yes
Keep reading

A complete budget desk setup under $300 (2026)
You can build a genuinely comfortable desk setup for under $300 if you spend on the parts your hands and eyes touch and save everywhere else. Here's the whole…
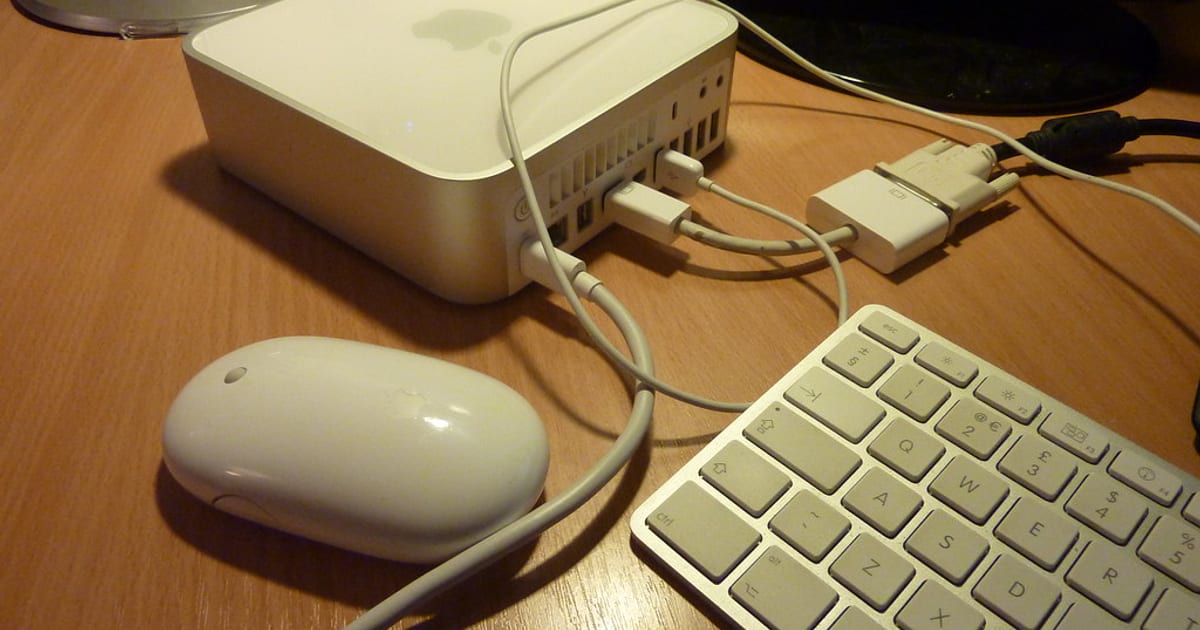
Mac mini desk setup ideas for a clean, compact workspace
The Mac mini's whole appeal for a clean desk is that it almost isn't there. It's a small square block you can tuck under the monitor, mount behind the screen,…

Small desk setup ideas for tiny rooms
The trick to a small desk setup is to stop fighting the width and start reclaiming it. On a desk around 40 inches 100cm or narrower, the surface is your…