A complete budget desk setup under $300 (2026)
A full, comfortable home-office desk for under $300 — desk, seating fix, monitor riser, keyboard, mouse, mat and light. Where to spend, where to save, and the order to buy in.
Some links on this page are affiliate links. If you buy through them we may earn a small commission at no extra cost to you. As an Amazon Associate we earn from qualifying purchases. It never changes what we recommend.
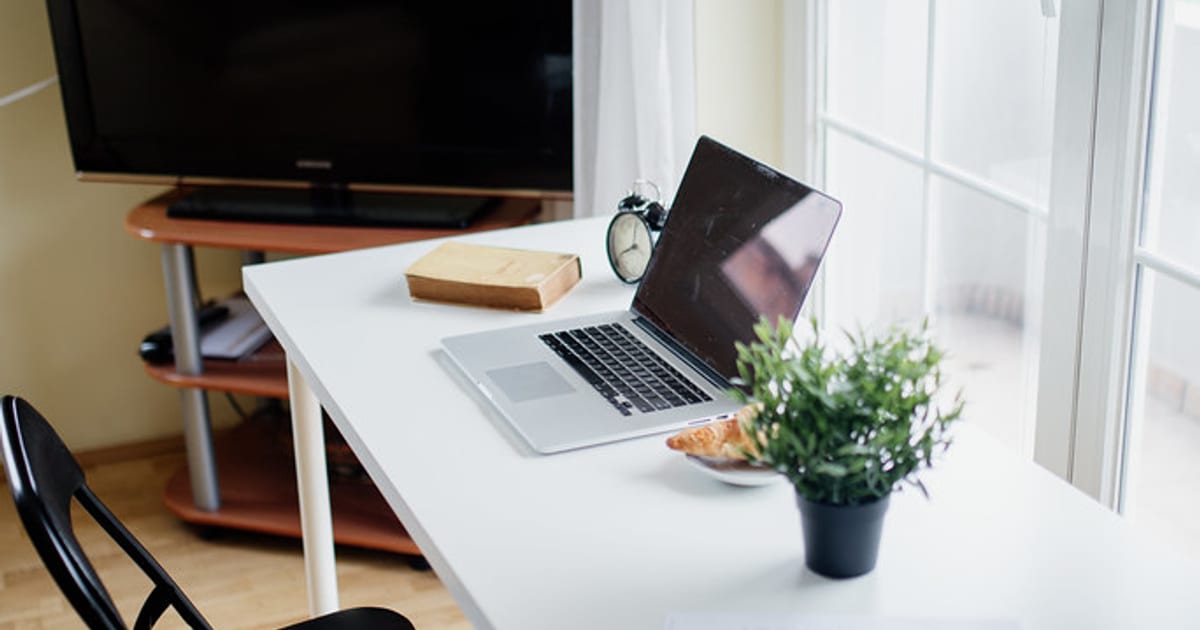
You can build a genuinely comfortable desk setup for under $300 if you spend on the parts your hands and eyes touch and save everywhere else. Here's the whole build: a simple sturdy desk ($90), a monitor riser or arm to get the screen to eye level ($25–40), a decent compact keyboard and mouse ($70 together), a large desk mat ($25), and a warm desk lamp plus a bias light (~$30) — with the rest of the budget kept in reserve for a used monitor or a chair fix. The trick isn't buying cheap everything; it's buying right on the four things you feel all day and going bare-bones on the frame and the extras. Prices below are typical 2026 ranges to plan against, not live quotes.
The links below go to search-scoped listings so you can compare current options. Some are affiliate links; see the disclosure at the end.
Where to spend, where to save
The rule that makes a budget build feel expensive: spend on the interface, save on the structure. You touch the keyboard, mouse and mat constantly and look at the screen for hours — that's where cheap feels cheap. The desk frame, the case of things, the branding — nobody notices once it works.
- Spend: keyboard, mouse, monitor height (a riser/arm), desk mat, light.
- Save: the desk itself (a flat sturdy surface is a flat sturdy surface), cable accessories (a few zip ties and clips do the job), and anything with RGB.
The sub-$300 build, part by part
Desk (~$80–100). A plain 47–55 inch rectangular desk with a steel frame is all you need — width matters more than brand. Check the complete guide to building a desk setup for the dimensions that matter. If money's tightest here, a solid-core door on two file cabinets or trestle legs is a real, sturdy desk for less.
Seating (~$0–40). The chair is often the hardest thing to fit under budget, so use what you have and fix it rather than buying badly. A $20 lumbar cushion and, if your feet dangle, a $15 footrest transform a mediocre chair. When budget allows, upgrade using how to choose an office chair for long days — but don't blow the whole $300 on a chair and skip everything else.
Monitor height (~$25–40). If you have a monitor, get its top edge to eye level with a cheap riser or, better, a basic monitor arm that also frees the desk. This one move fixes most neck strain for the price of lunch. Compare monitor arms on Amazon. No monitor yet? A good used 27-inch 1440p screen is the best value on the whole list — see what to look for in how to choose a monitor for working from home.
Keyboard + mouse (~$60–80). This is where a budget setup earns its comfort. A sub-$100 hot-swap mechanical keyboard feels far better than a mushy membrane board — the picks are in best budget mechanical keyboards under $100. Pair it with a mouse sized to your hand (fixing wrist and hand strain at your desk explains why size matters). Compare mechanical keyboards on Amazon.
Desk mat (~$20–30). The cheapest upgrade that changes how the desk feels and sounds. Get a large dark heathered cloth mat — details in best large desk mats and why they matter. Compare desk mats on Amazon.
Light (~$25–35). A warm desk lamp plus a USB bias light behind the monitor kills screen eye-strain for very little — see desk lamps and bias lighting for eye comfort.
Sample under-$300 split: desk $90, monitor arm $30, keyboard $55, mouse $20, desk mat $25, lamp + bias light $30 = $250, leaving ~$50 for a lumbar cushion, footrest and cable clips. Chair fixed, not bought. Everything you touch, upgraded.
The order to buy in (so you're comfortable at every step)
Don't buy it all at once — build in the order that gives you the most comfort per dollar:
- Monitor height first (riser/arm) — biggest comfort gain, tiny cost.
- Seating fix (lumbar cushion, footrest) — stops the aches while you save.
- Keyboard + mouse — the daily-feel upgrade.
- Desk mat + light — the finishers that make it feel done.
- Desk or monitor — the big-ticket items, bought used or on sale when you can.
This mirrors the ergonomics-first order in the ergonomic desk setup checklist: fix how you sit and see before you spend on how it looks.
Next steps
Build interface-first, structure-last, and buy the big pieces used. Compare the pieces — keyboards, monitor arms, desk mats — see complete budget workspaces in the desk setup galleries, and browse more ideas in the desk setups topic.
About this article
- Published by Ravi Menon — Ravi Menon builds, breaks down and rebuilds home-office desks and writes about the results for The Desk Nook.
- Claims fact-checked against cited sources: Yes
Keep reading
The complete guide to building a desk setup (2026)
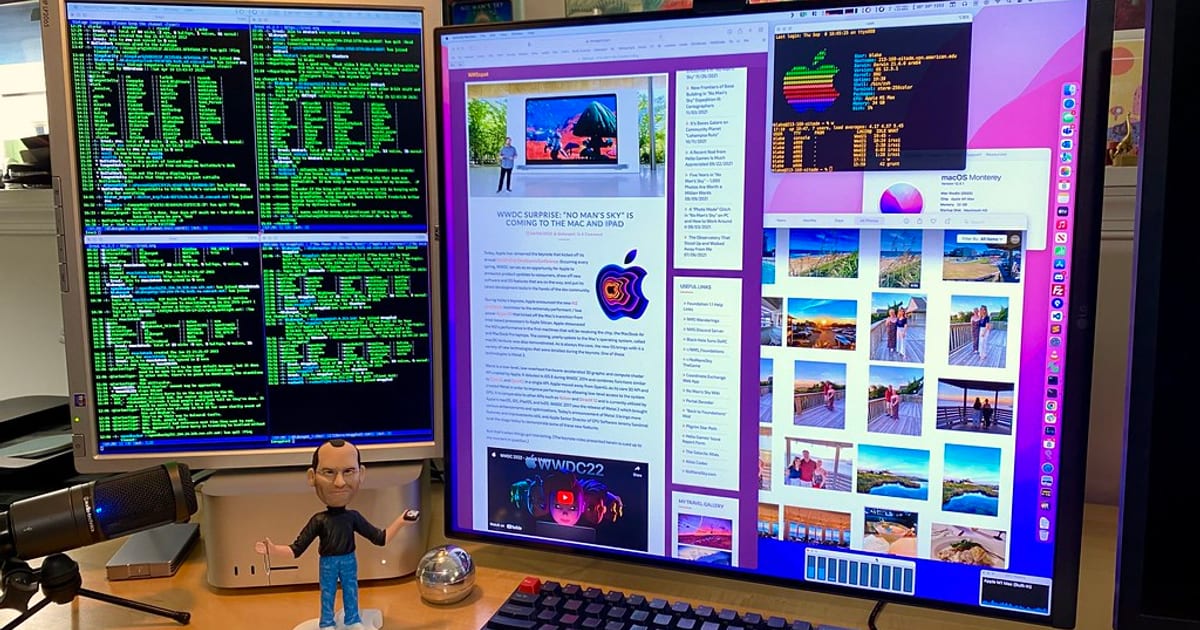
If you want the short version: build from the desk up , spend money where your hands and eyes touch the setup, and route the cables last but never skip them. A…
Mac mini desk setup ideas for a clean, compact workspace
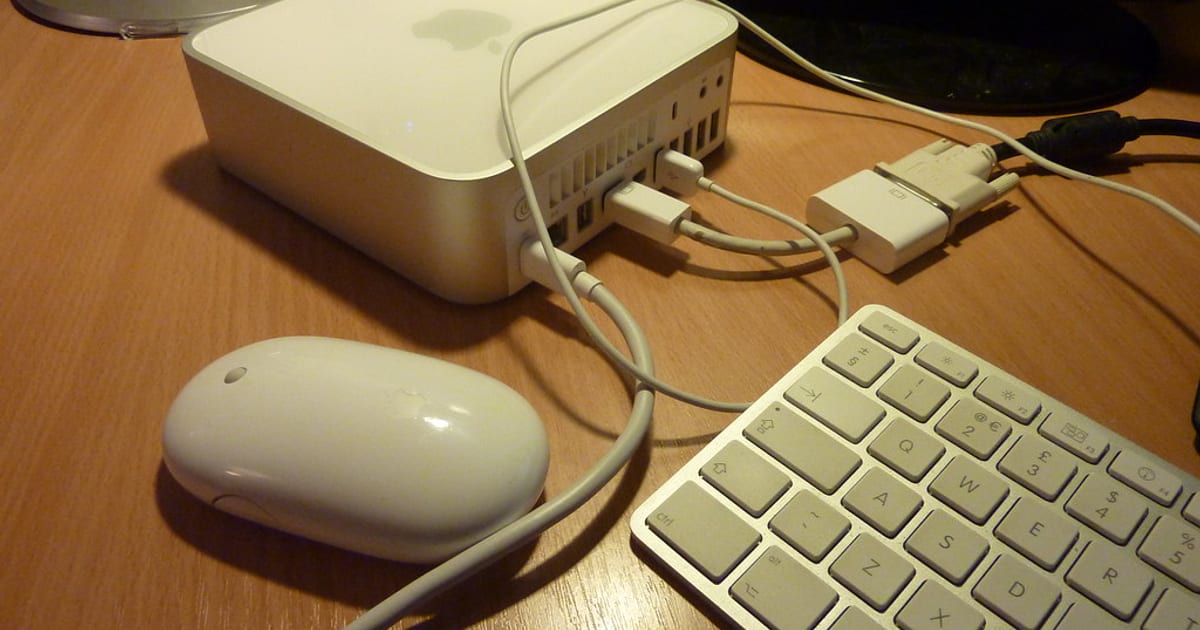
The Mac mini's whole appeal for a clean desk is that it almost isn't there. It's a small square block you can tuck under the monitor, mount behind the screen,…
Small desk setup ideas for tiny rooms
The trick to a small desk setup is to stop fighting the width and start reclaiming it. On a desk around 40 inches 100cm or narrower, the surface is your…