
The ergonomic desk setup checklist (2026)
A two-minute, top-to-bottom check to set up your desk so a full workday doesn't wreck you — chair, monitor, keyboard, feet and light, in the order that matters, with the numbers that make it neutral.
Here's the whole checklist up front — set your desk in this order and you're done in two minutes. Feet flat on the floor or a footrest. Knees and elbows near 90°. Thighs parallel to the floor, two-to-three fingers of gap behind the knees. Forearms level with the desk, wrists straight (not bent up). Monitor about an arm's length away, top of the screen at or just below eye level, tilted up slightly. Shoulders relaxed, not shrugged. Light warm and to the side, none glaring off the screen. That's the neutral seated posture OSHA and Cornell both describe, and it's the difference between finishing the day loose and finishing it stiff. Work top-to-bottom below to hit each number.
Start with the chair and your feet — the foundation
Everything above your hips is set by how you sit, so start there.
- Raise or lower the chair until your elbows land at desk height and your forearms are level with the desk. Elbow angle should be around 90–100°.
- Check your feet. They should be flat — on the floor. If the chair had to go up to reach the desk and your feet now dangle, add a footrest. Dangling feet put pressure behind your thighs and you'll feel it by afternoon.
- Set seat depth: sit fully back against the lumbar support with two-to-three fingers of gap behind your knees. Slide the seat if it adjusts.
- Place the lumbar support in the curve of your lower back so you're not slumping to reach the backrest.
If your chair can't do these, that's the first upgrade — how to choose an office chair for long days covers exactly which adjustments to look for.
Then the monitor — the neck-saver
- Distance: roughly an arm's length, about 20–30 inches from your eyes. If you squint, the screen's too far or the text too small — bump the system font size rather than leaning in.
- Height: the top of the screen at or just below eye level so your gaze rests slightly down at the center. Looking up at a screen is what wrecks necks.
- Tilt: angle the panel up about 10–20° so it faces your eyes squarely.
- Stack for laptops: a laptop screen is always too low — raise it on a stand and add an external keyboard (see laptop stands and docking stations).
The cheapest way to hit height and distance at once is a monitor arm, which also frees the desk — the how-to is in monitor arms and desk ergonomics, and choosing the panel itself is in how to choose a monitor for working from home.
Then the keyboard, mouse and wrists
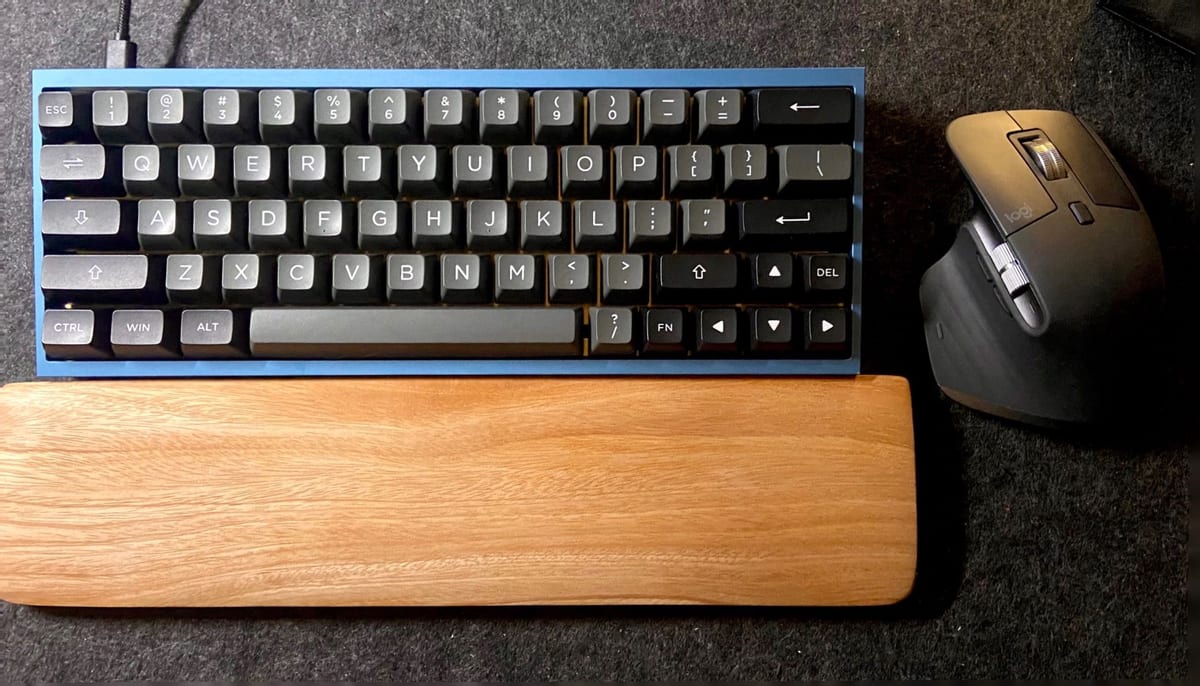
- Flatten the keyboard. Fold the flip-out feet away — a keyboard tilted up at the back bends your wrists backward.
- Center the board on the monitor so your shoulders stay square, and bring the mouse close so you're not reaching sideways.
- Float your wrists while typing; use a wrist rest and desk mat for the pauses, not as a pivot to type from. The full breakdown is in fixing wrist and hand strain at your desk.
The one-line audit: sit down and check ankles, knees and elbows are all near 90°, feet flat, monitor top at eye level, wrists straight. Four checks, thirty seconds. If any one is off, fix that before anything else — it's doing the most damage.
Then light and movement — the finishers
- Light: warm, off to the side, and never glaring off the screen. Add a bias light behind the monitor to cut the screen-vs-dark-room contrast that tires your eyes (desk lamps and bias lighting).
- Move: the best posture is the next posture. Stand or shift every 30–60 minutes. A standing desk makes changing position frictionless, but even standing up to refill water counts.
Print-and-tape version
- Feet flat (floor or footrest)
- Knees ~90°, 2–3 fingers behind the knee
- Elbows ~90°, forearms level with the desk
- Back supported, lumbar in the curve
- Monitor an arm's length away
- Screen top at/just below eye level, tilted up ~10–20°
- Keyboard flat, centered; mouse close
- Wrists straight and floating while typing
- Light warm, to the side, no screen glare
- Move every 30–60 minutes
Where this fits
This checklist is the "why" behind the build order in the complete guide to building a desk setup: chair, then desk height, then monitor, then keyboard, then light. Get the ergonomics right and the setup works before it ever has to look good.
Next steps
Run the two-minute check now, fix the biggest miss first, and upgrade the weak link — usually the chair or the monitor height. See real, comfortable workspaces in the desk setup galleries and read more in the ergonomics topic.
About this article
- Published by Ines Okafor — Ines Okafor sets up monitors, lighting and ergonomic workspaces and writes about what actually reduces strain for The Desk Nook.
- Claims fact-checked against cited sources: Yes
Keep reading
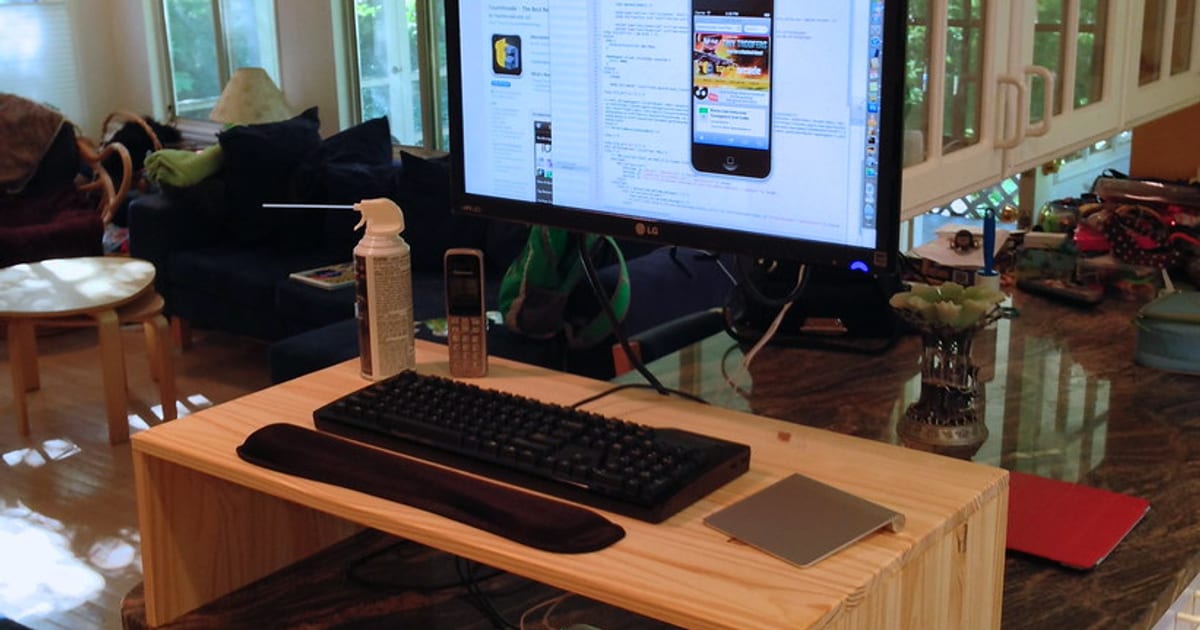
Standing desk setup ideas for a healthier workday
A standing desk will not fix your back on its own. What genuinely helps is alternating — sitting for a while, standing for a while, and changing posture…
Fixing wrist and hand strain at your desk (2026)
Wrist and hand ache at a desk almost always traces to three things, and all three are cheap to fix. First, your keyboard is probably tilted up at the back…
How to choose an office chair for long days (2026)
The short version: the best office chair is the one you can adjust to fit your body, and the four adjustments that matter are seat height, seat depth, armrest…